An 8 channel MIDI/DMX controller based on an Arduino Mega which works with QLC+. Simply put, 8 buttons, 8 faders, communicating over Serial USB.

Bill Of Materials
- 8x 10k Resistors (THT 1/4W)
- 8x 100k Resistors (THT 1/4W)
- 8x 100pF Capacitors ( ceramic 101)
- 8x generic tactile switches (THT 6mm)
- 8x sliding potentiometers (B103)
- 1x robodyn Arduino mega pro 2560
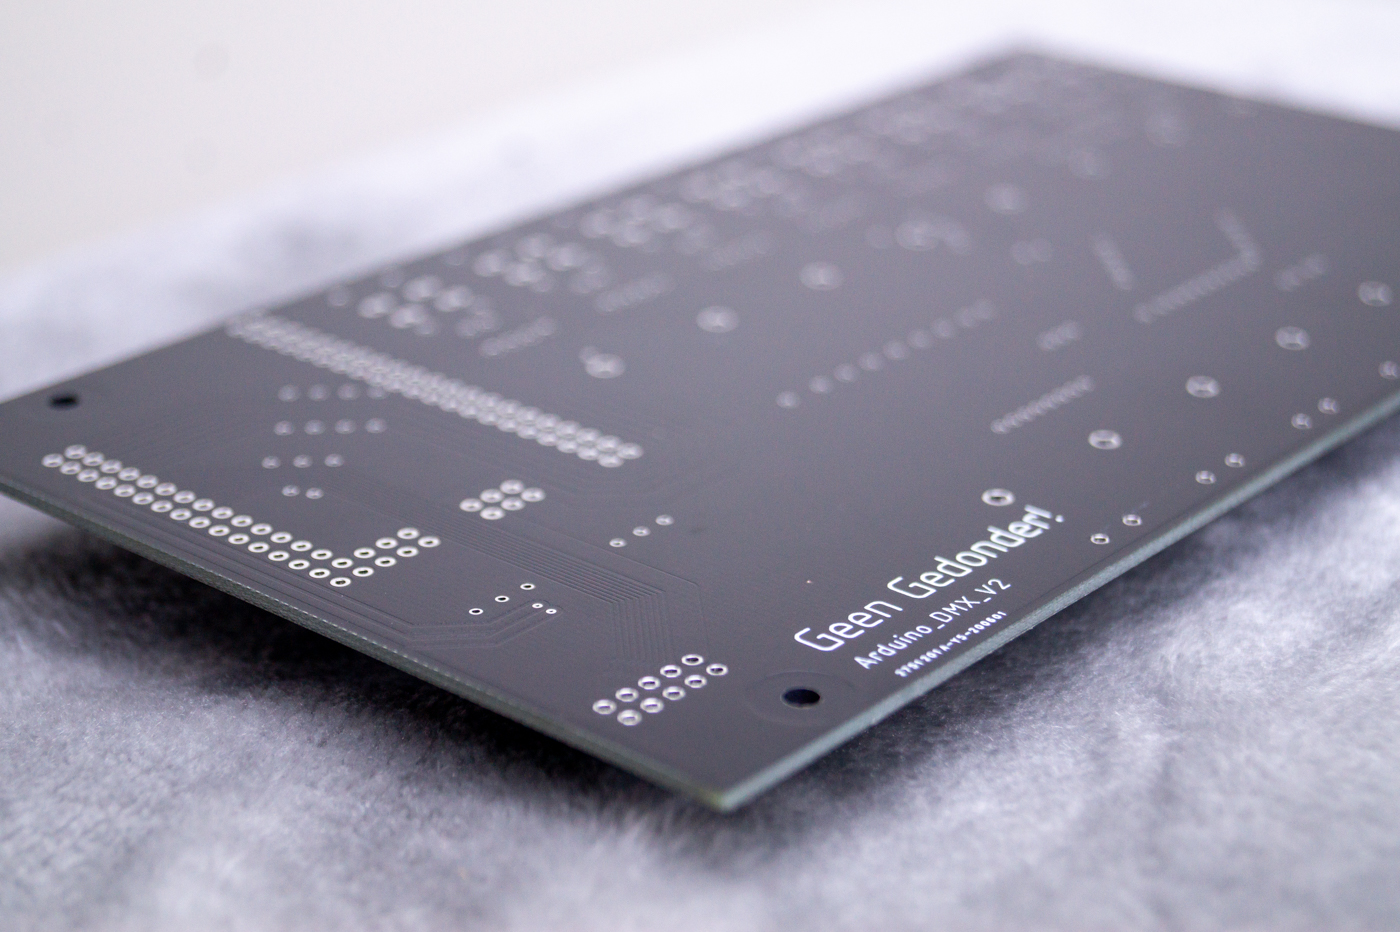
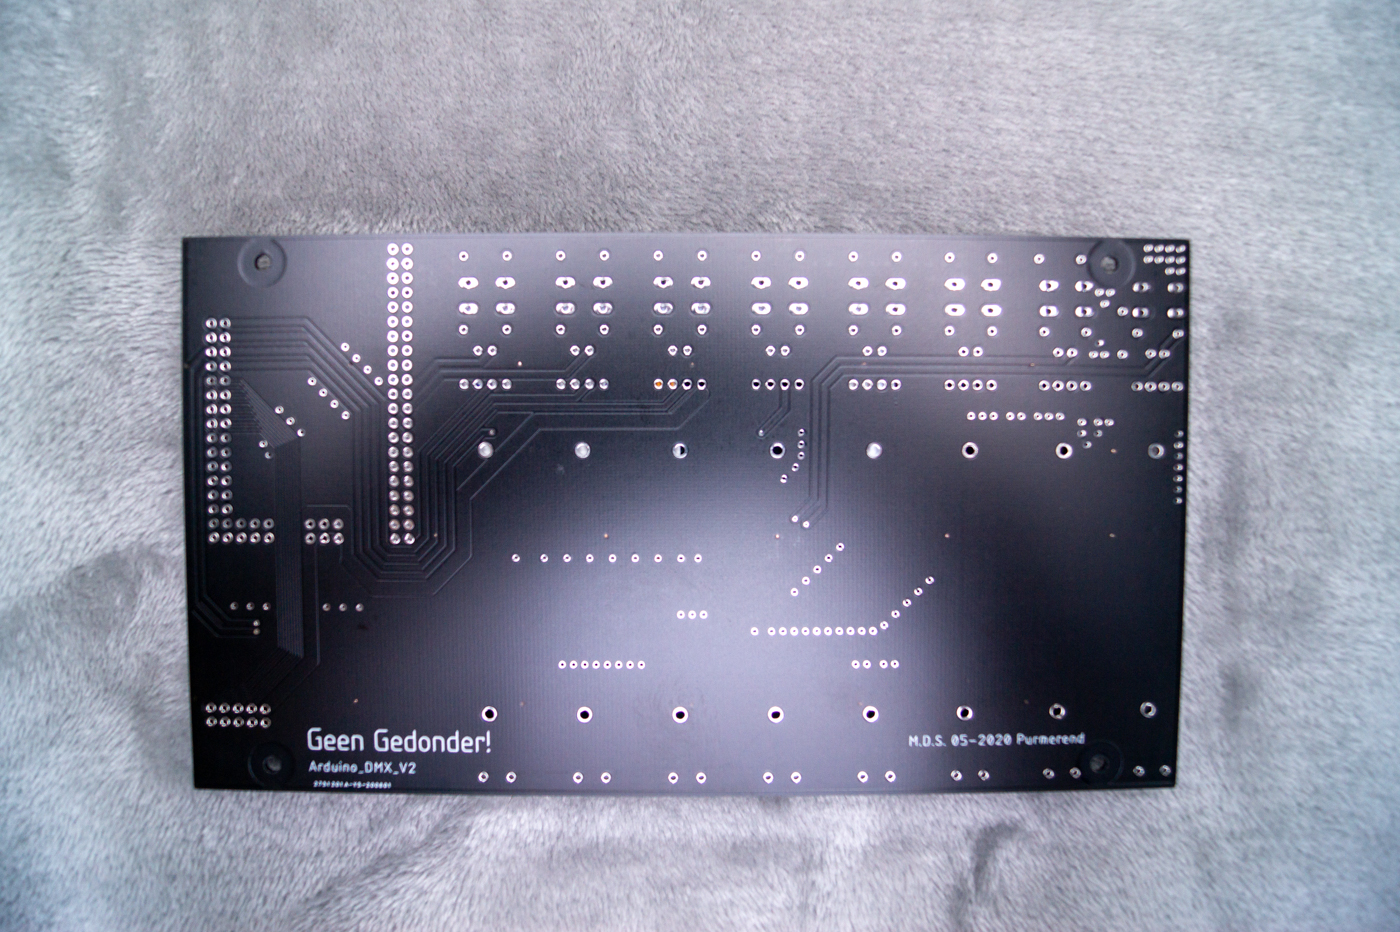
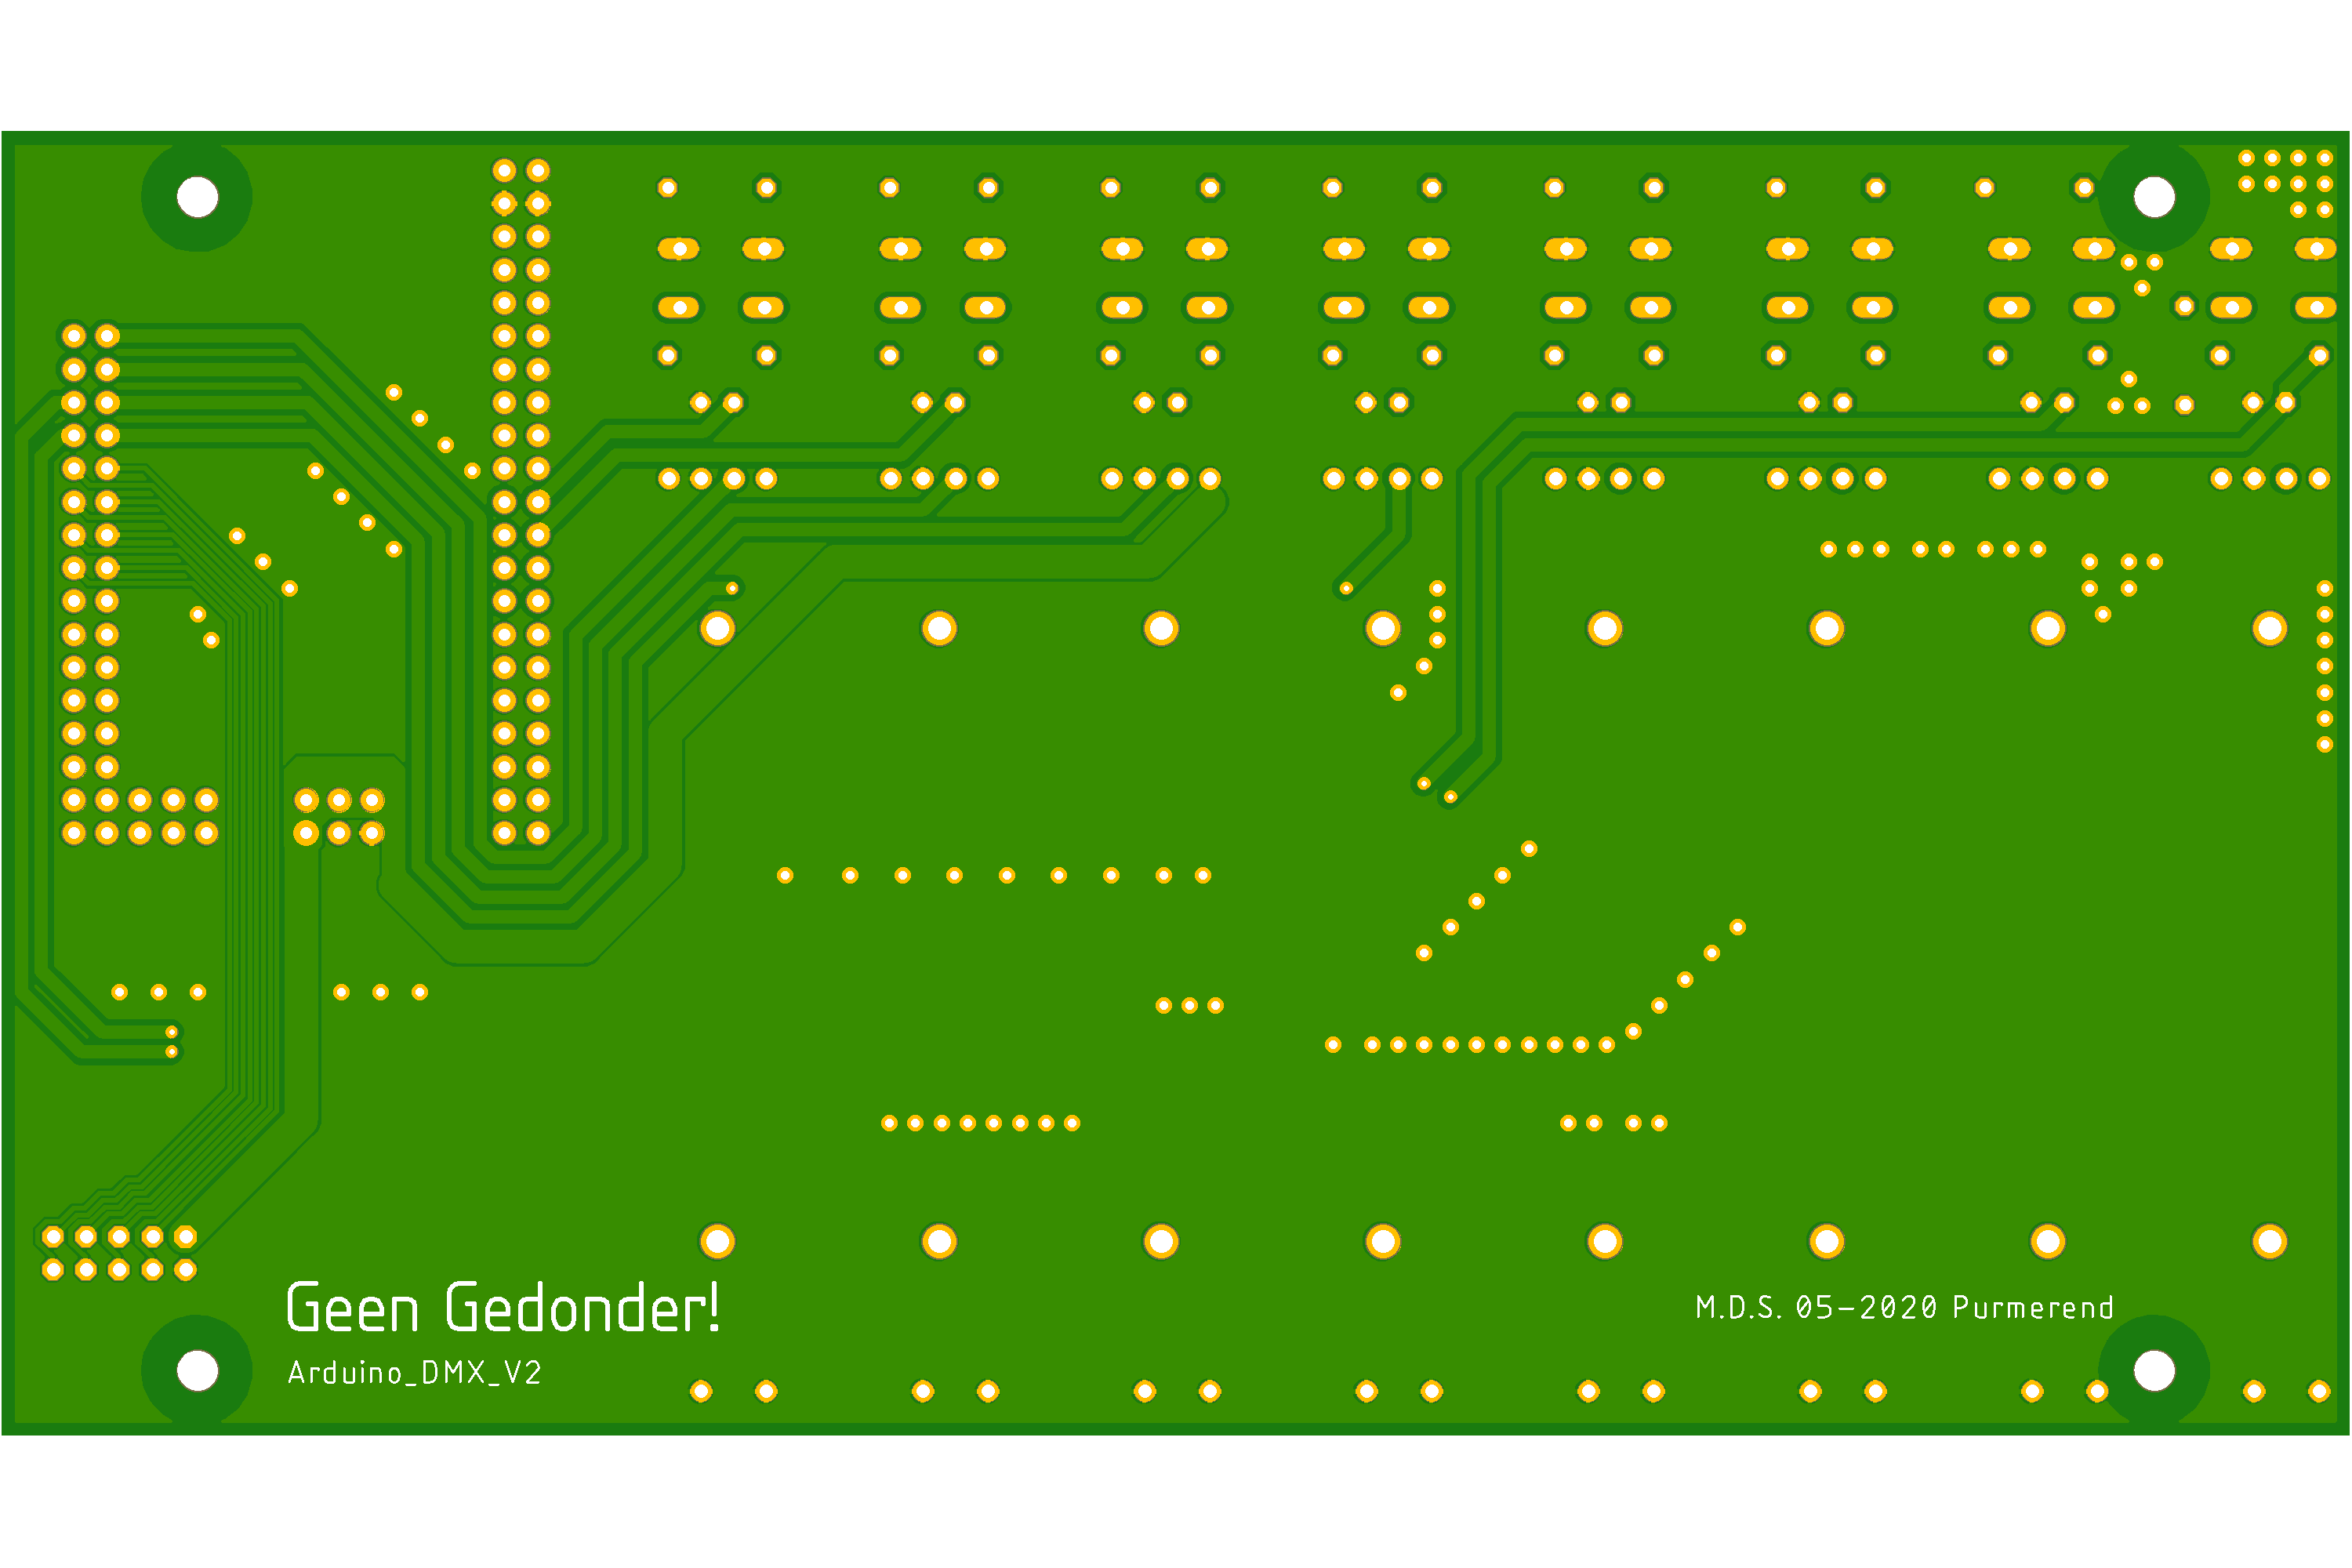
- Arduino_DMX_v2 PCB
- 8x 3d printed Button covers
- 8x 3d printed Fader knobs
- 1x 3d printed Lid
- 1x 3d printed casing
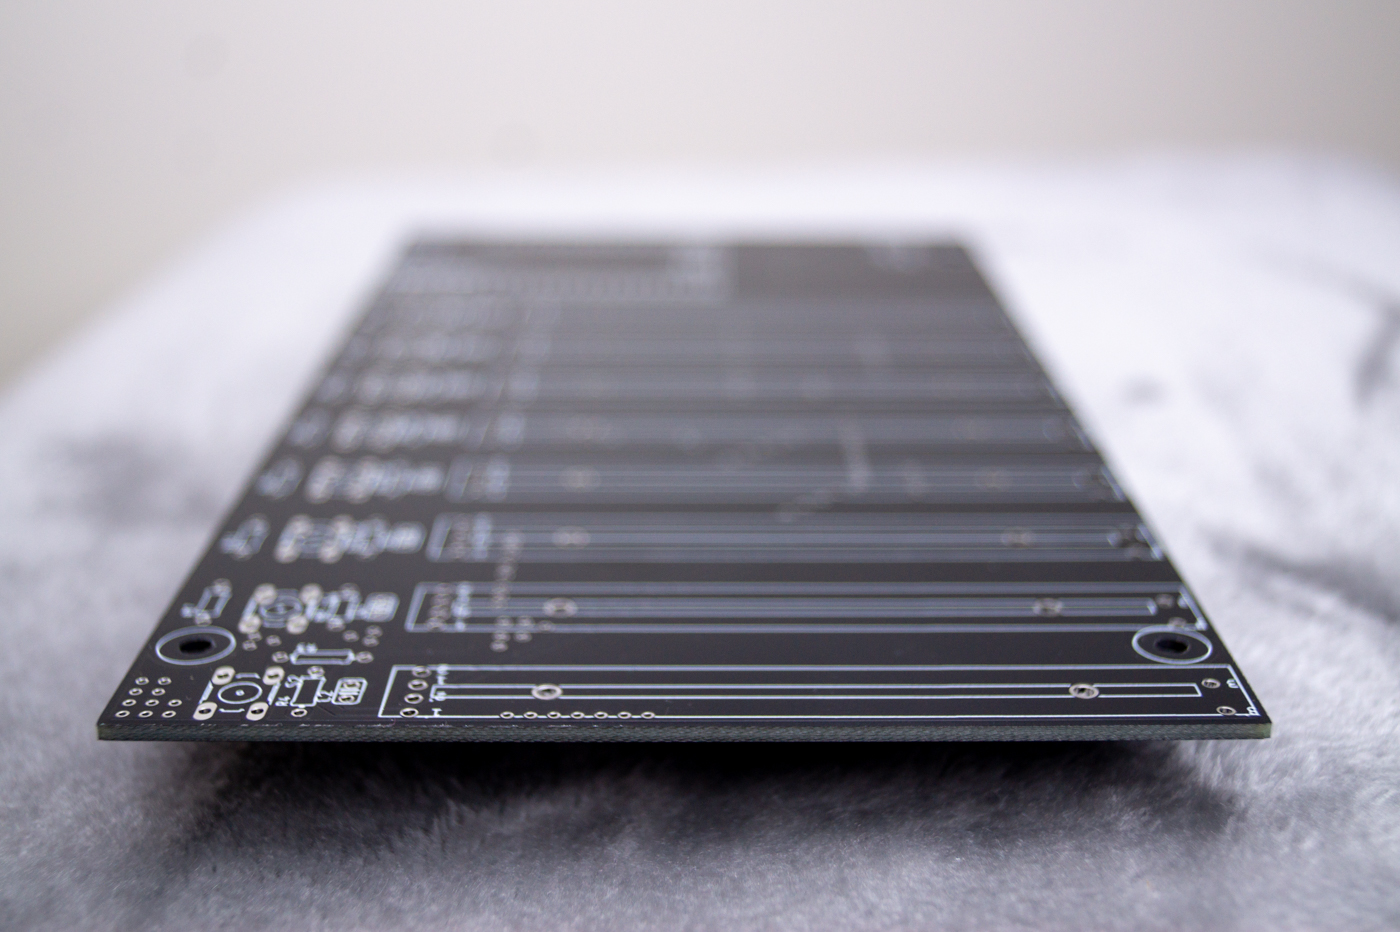
Hardware
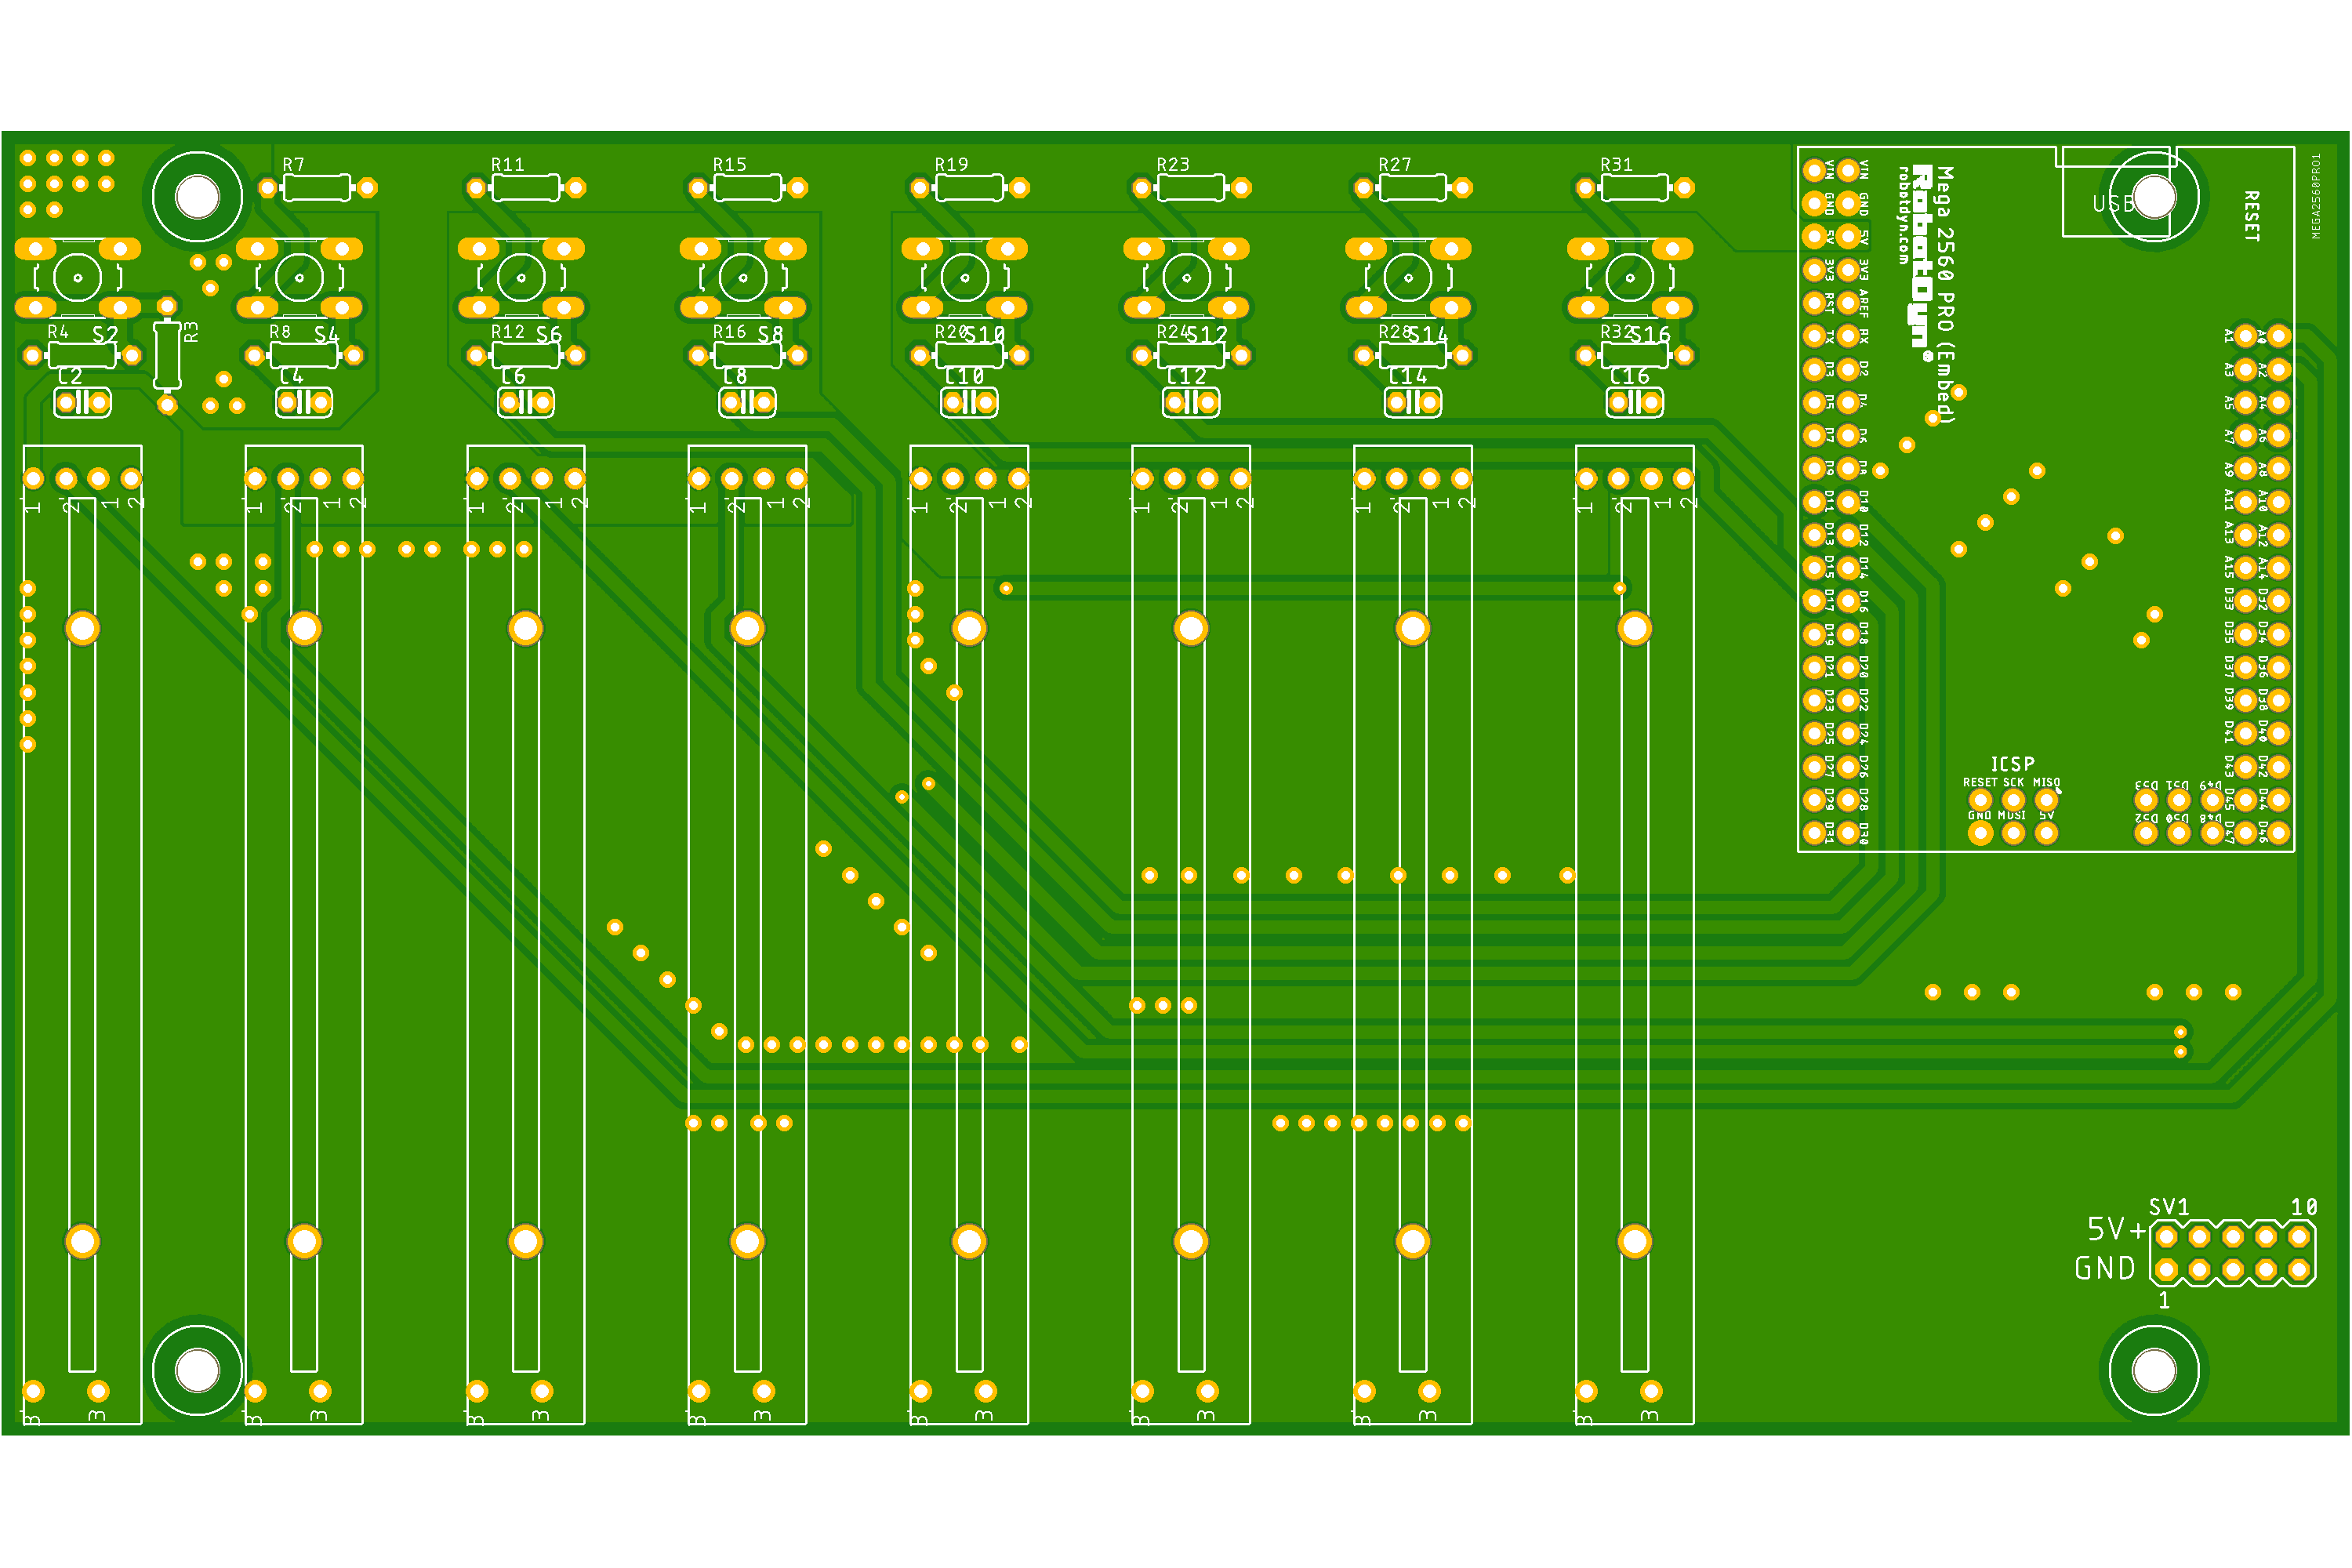
The PCB was made at JLCPCB, However, this PCB is more expensive than your normal PCBs since the dimensions 100x180mm are larger than the default option. There is an expansion slot designed to allow 8 additional potentiometers to be connected.
Since it is an 8 channel design, all channels are identical in design. For the development board, the Robodyn Arduino mega 2560 is used. This is one of my favorite development boards, although I must admit that it is excessive for this project. The sole reason to use this one is that i had it laying around...
The buttons used are generic tactile buttons, which introduce noise when pressed or released, also called “bouncing”. This is solved with a simple Low Pass-filter as seen in the schematic.


Faders
The linear potentiometers are cheap “B103” faders. They are often advertised as “Linear faders” but I can assure you, they are nowhere near linear. They are however dirt cheap compared to high quality faders, and this solution is thus the most cost effective. They are used directly on the analog pins of the Arduino.

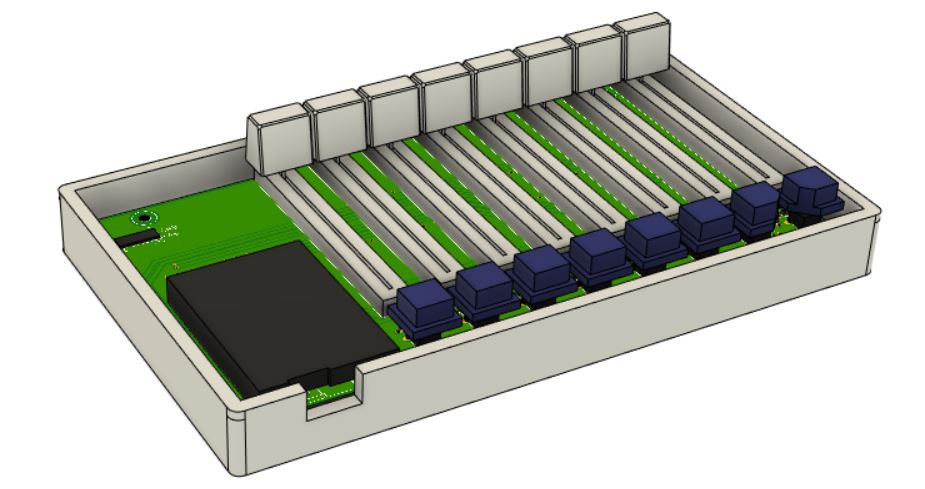
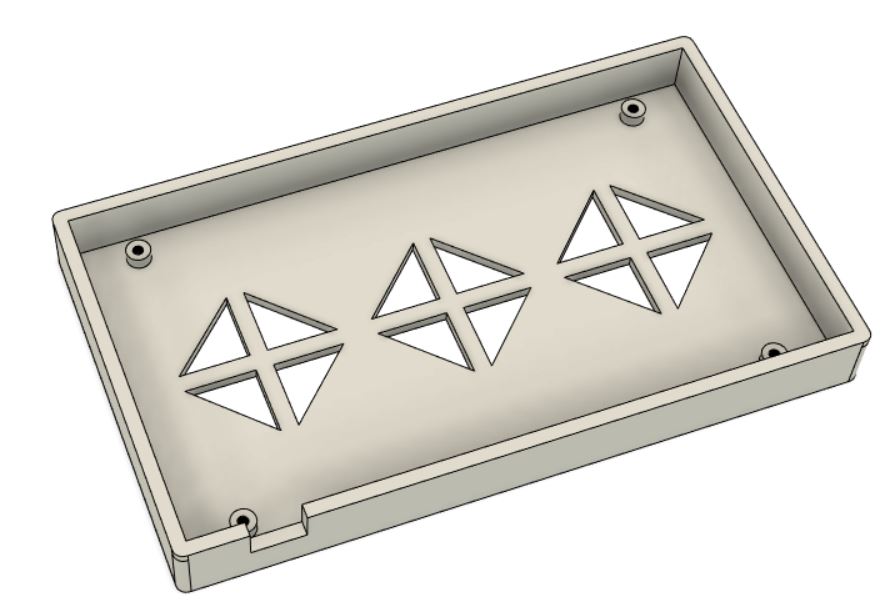
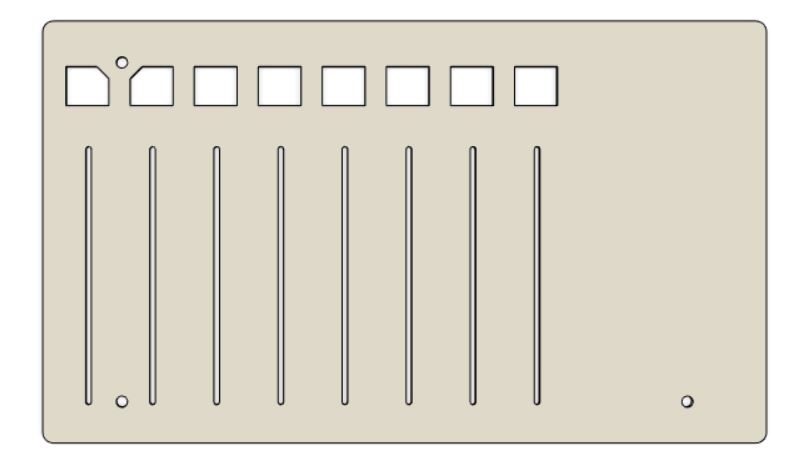
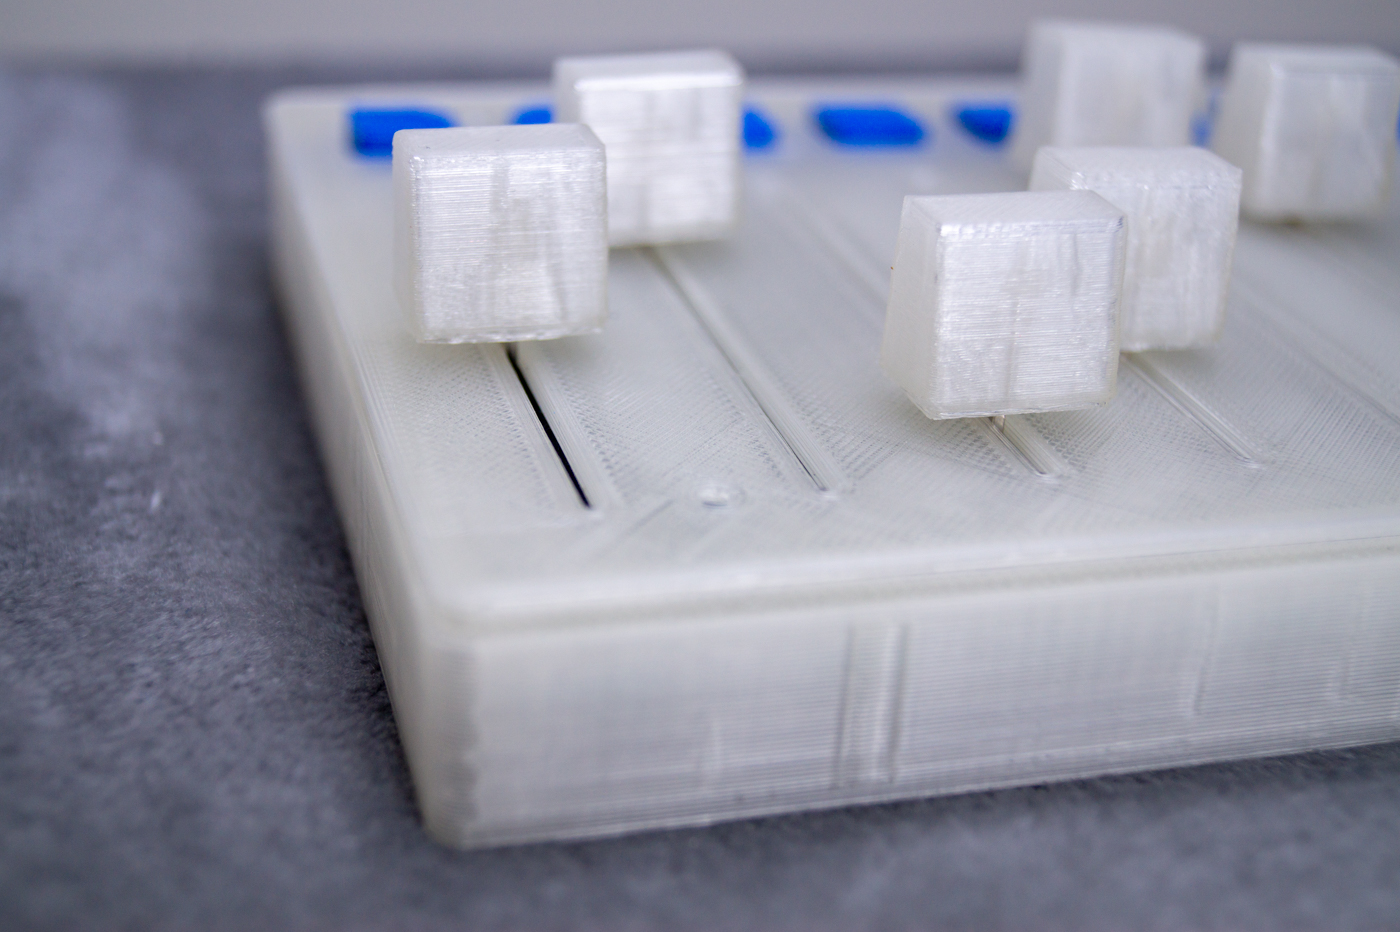
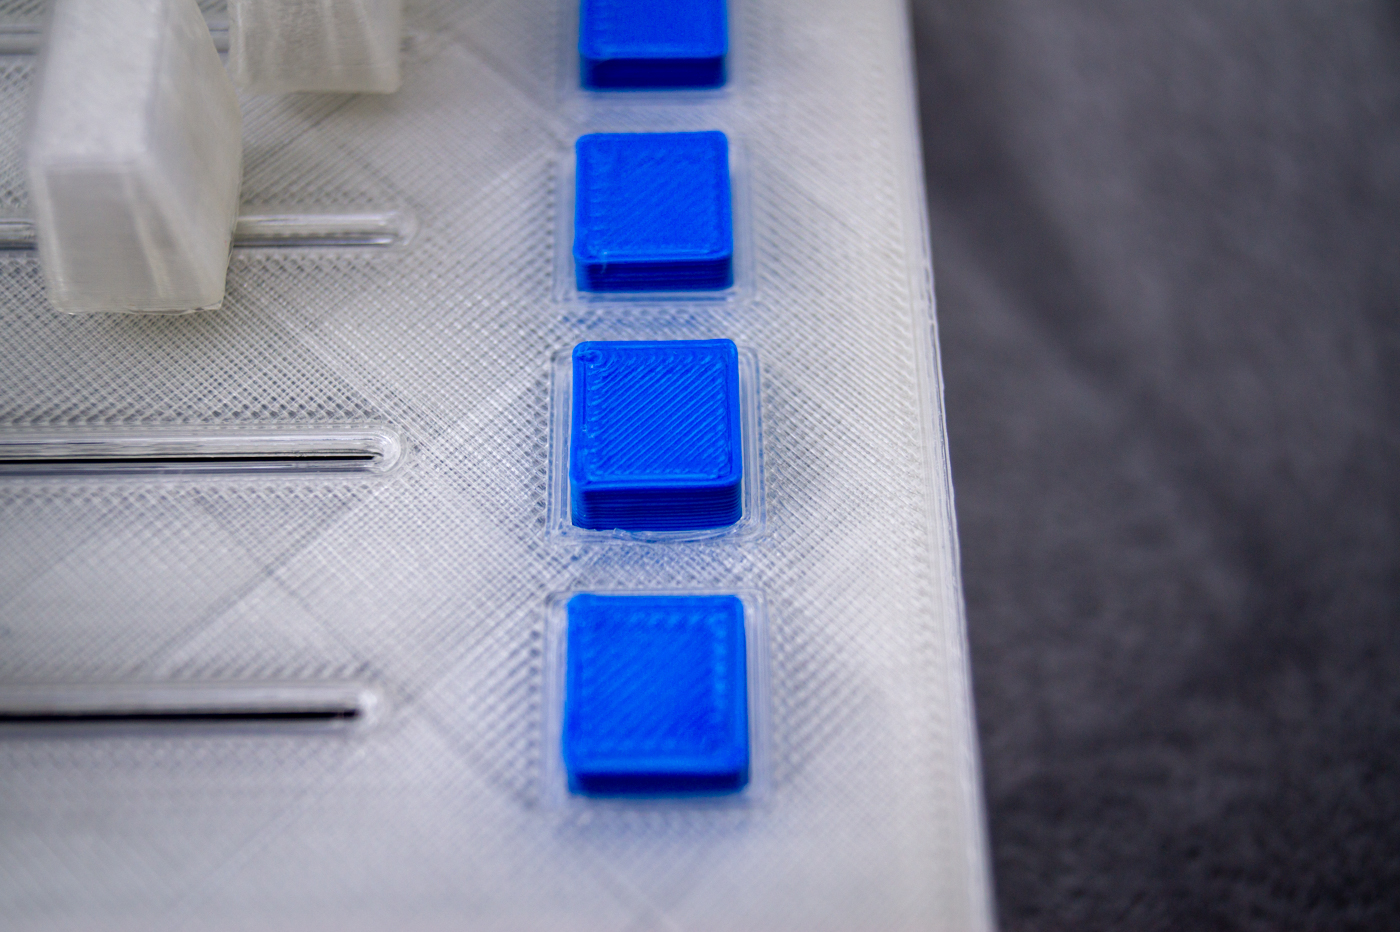
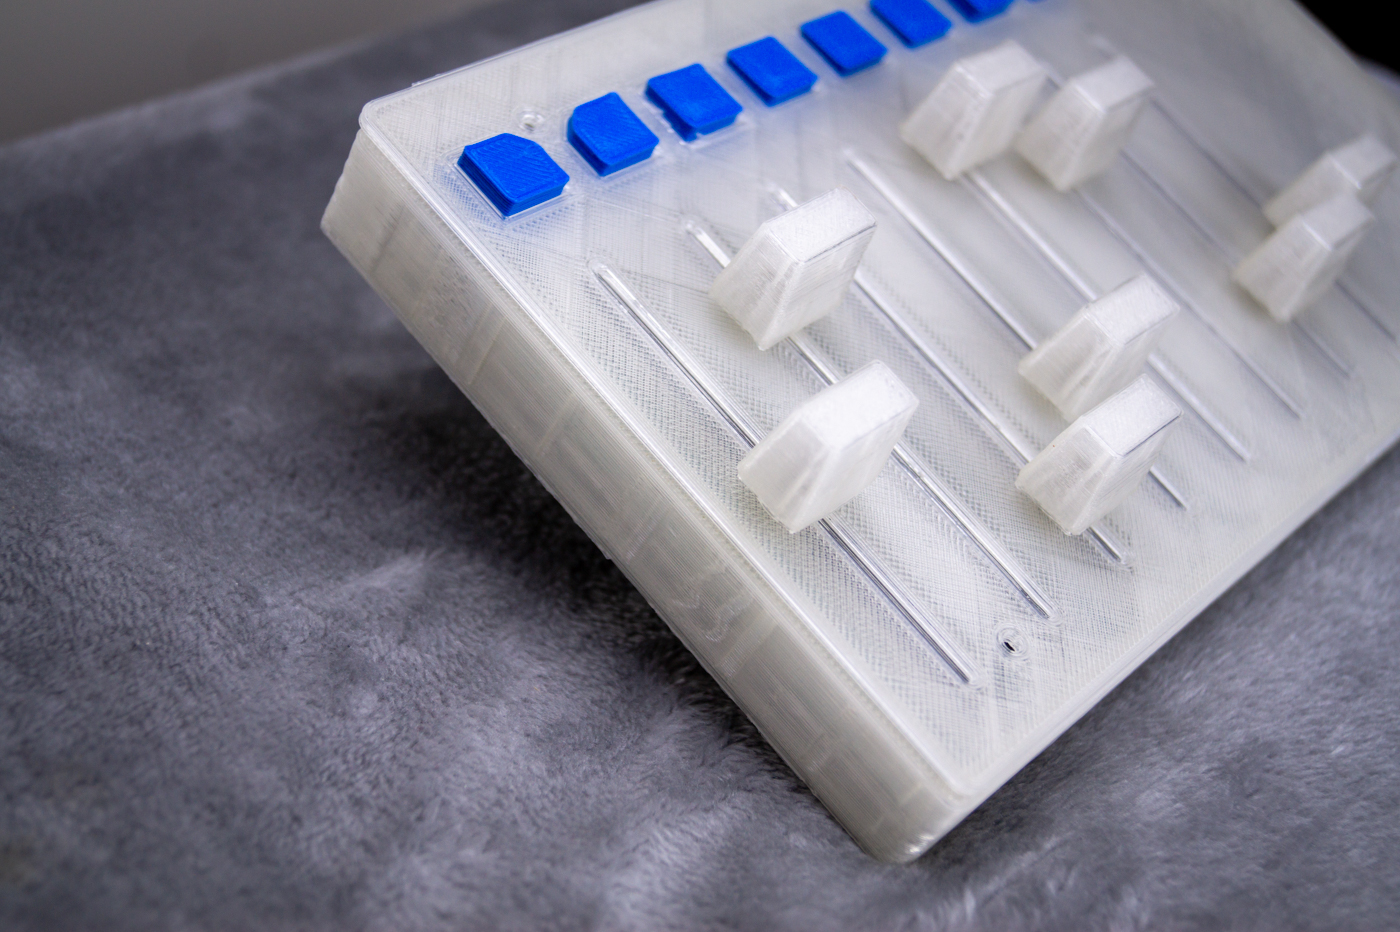
Enclosure
The enclosure is 3d printed on an anet a6 with generic PLA. The same goes for the faderknobs and the buttons. Everything is designed in Fusion360. Since the datasheets were not describing the dimensions of the components accurate enough the 3d model seems odd, but everything fits in real life.
The buttons have a larger bottom then top to prevent them from escaping from the enclosure. The faderknobs are printed just tight enough so they do not slide off the faders.
A bit about MIDI
MIDI is a very old (1984) protocol for connecting digital musical instruments to a pc or to each other. It has a hardware specification, but we do not use that. We only use the software protocol, which is just a serial data protocol, therefore it can be transmitted over USB.
As far as I am aware, MIDI was never intended to be used in “generic controllers”, however it is a well-documented and broadly used standard that we only need to implement.
A MIDI message consists out of 3 parts, a status byte, a key value and a “velocity”:

The first byte is describing the action and the channel. In this case, note On (144) on the first channel (index 0). Other possibilities are found here. The orange bits are structure bits and cannot be changed. This actually is a shame, since we are wasting resolution of the analog-digital converter (ADC) of the Arduino (10 bit) and also DMX is “true” 8 bit, (256 values).
MIDI over USB
We can exploit the trick of MIDI over USB, since we can increase the baud rate without compatibility issues. (solving the 10 finger problem). Baud rates of up to 256000 prove very stable and sufficient for our needs. The midi over USB is received by hairless midi-serial bridge. Which is feeding into LoopMIDI. This can be fed to QLC+.

Arduino Code
All code for this project is fully documented and can be found on my Github:
https://github.com/Byonnem/DMX_controller_code_v5/blob/master/DMX_controller_code_v5.ino
Liked this page? Consider a small donation:
XRP: rN3RtThYcMoXnkj92kvSdiPcjxVfB5dKBY
BTC: bc1qth3fzmgnmp9vnknlmcnlxgu643tg063man6da2
Monero: 45MkTfCmAzuTxtbZemiHRWG3pc7UmV9rkPE2dhPVLLQg8aMLEZPJ4HdjQ3tqnKitqK9YVBPMxdWSu61iMPMia9mbR7xexGm
Pictures


Possible next steps
A project is never finished…
- Next version would probably be using the Controlsurface library. This would simplify programming and introduce the possibility for feedback on the console.
- Replace the development board by just a microprocessor (with support components).
- Replace the very expensive Robodyn Arduino mega 2560 with a cheaper chip, possibly with a MUX and serial expansion for daisy chaining of controllers.
- Replace the software chain of Hairless midi and loopmidi with Midi host support of Arduino.
- Adding many cool and usefull input (and output) methods, such as a controller knob for moving head control.